
Welcome to a weekly feature on my blog – Ben’s Zone. Written by husband… Ben. A foodie, coffee obsessed, ex-smoking, ex-drinking and Ridgeback loving Dad. Who is also seriously into his fitness. You can find him on the blog (mostly) on Sundays. Enjoy!

Home Recording on a Budget – Part 1
Lockdown has had many consequences (not least it’s kept me and my family relatively safe) and I’ve been open that some of them have suited me quite well. One thing I have really missed though is the Friday night music sessions I have with my friend Rob. He plays bass or drums, as the mood takes him and I play guitar really badly. Every Friday in a normal circumstance we get together and spend a couple of hours playing music.
I don’t know why but we’ve always written our own stuff. You could argue it’s because we’re not good enough to play anyone else’s tunes (you’d be right) but that’s how we do it and it’s what we like. Obviously this is all off limits in lockdown but rather than this dampening my creativity I’ve found that I’ve been more productive than ever before and that’s really helped me as when I don’t do creative things I get very unhappy.
What I have had to do is to switch from playing live to building a repertoire of songs that Rob and I will return to when we can meet again. This has meant I have had to leave my comfort zone of simple power-chords and learn about recording live instruments and also branching out into instruments I had no prior experience of. It’s actually been a ton of fun.
In this post I’m going to go through the hardware and software I use and next week I intend to walk you through the workflow I use to go from an idea to a finished demo I can send over to Rob. The thing about music is that it can get pricey, so the key thing for me has been to work to a budget. So this week, let’s look at what you need.
1. Digital Audio Workstation (DAW)
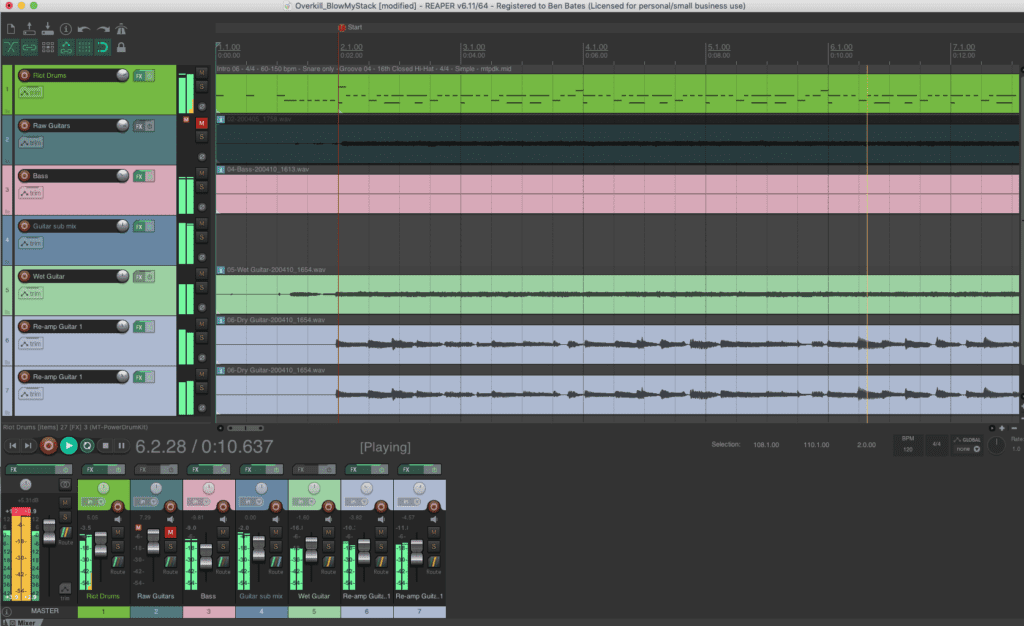
The DAW is the beating heart of the set up. This software tool, which people used to call a sequencer is simply a way of arranging actual sounds (audio) and notation (midi information which has the notes plus a ton of other stuff). The DAW is where I record all the music I play and where I glue it all together to arrange into a finished song. There are lots of DAWs available at various prices (and you can pay a lot). The one I chose is called Reaper. The evaluation version of Reaper is free and not limited, for amateur usage the cost is around $60 which is crazy cheap. I used Reaper for about a month before deciding to buy it, knowing by then I was happy and comfortable in using it. It’s really important that you find a DAW which seems to work logically and naturally to you as it needs to be a tool, not an end in itself. It is even more important not to be tempted to use illegal or cracked software. Not only is it theft of someone’s hard work, it’s also unstable and prone to issues. You don’t want to lose a ton of hard work because you were too cheap to lay out the price of a night in the pub on your main tool.
Another thing I like about Reaper as well as the workflow and the bang for buck is that it works across platforms, so Rob can use the files I create on a Mac on his PC.
You can get Reaper here.
2. Audio Interface
The Audio interface is a complex name for a simple thing. It takes a signal from an instrument like a guitar or microphone and converts it to digital information that the computer can ‘hear’. If all you need to record is guitar you may find that your amp has this function built in. My Boss Katana amp can connect to the computer via USB but will only record a guitar type signal. With this option I can record the amplified signal (i.e. what I hear) or a ‘dry’ signal from before the pre-amp which is just the sound from my pickups. We’ll discuss why that might be handy in the next post.
As I like to record vocals as well I have a dedicated audio interface as shown in the picture. We have two inputs, one for an XLR (3 prong microphone type plug) and one for a standard 3/4″ jack. Each input has a gain control and a headphone jack. I have a small Mackie Onyx which is nice but your basic requirements are as follows:
— 2 inputs so you can record 2 instruments at once if you need.
— XLR and 3/4″ jack as opposed to RCA (phono) plugs so you can plug your stuff in directly.
— Capable of recording 24bit/192Khz audio (quality level).
— Gain controls for inputs to control input signal to the DAW.
— Headphone socket.
— USB connection (as they are ubiquitous)
— Bus powered, powered off the computer so no annoying wall lump to worry about.
There are offerings from brands like Behringer which will give you everything you need for around £60.
3. Amp Simulator (Guitar)
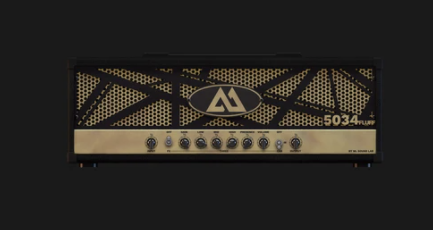
You can, if you want, record your amp. Some amps make this easy. If you have something like a Katana it’s just as simple as connecting up the USB cable. To record a traditional amp you need a microphone near the speaker, usually two. The microphones themselves can be pricey and where to place them is a dark art. But let’s look at what we’re trying to do, get a demo recording together, not record an album. With that in mind what I chose to do was to use the ‘dry’ signal off my guitar and run this through an amp simulator. This sounds bizarre however for some years there has been a class of amps called ‘modelling amps’ which are doing the exact same thing but sitting within an amp shaped box. If you ignore the fact that there is no speaker and no physical controls to tweak then this whole process is not hugely different to what is going on in something like a Boss Katana. As I got more into this whole business I invested in a package called Bias (who, incidentally, produce a hardware amp which runs the same software) but this was because it was on a special offer. Prior to that I’d found some really excellent cheap and free options.
Free amp sims I have used and enjoyed.

ML Soundlab Amped Roots (the 5150 emulation is free, the others are paid for)
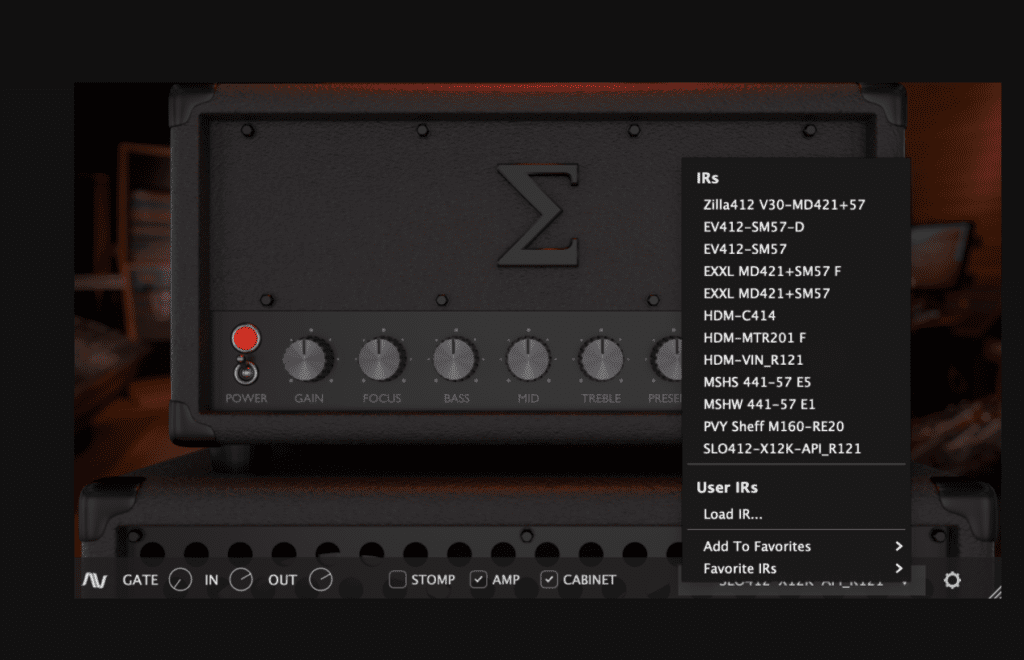
I also use an amp called Sigma by Audio Assault. I did pay for this (around £15 with a ton of impulse responses) and it’s fantastic for super high gain sounds.
4. Bass module (bass)
The bass module is essentially an amp sim but for bass. Again, I use Ignite amps or Bias here. As it happens I have a bass guitar for playing these amps however it is also equally possible to put in the notes by hand using midi. The free bass module I use is this one.

5. IR Loader
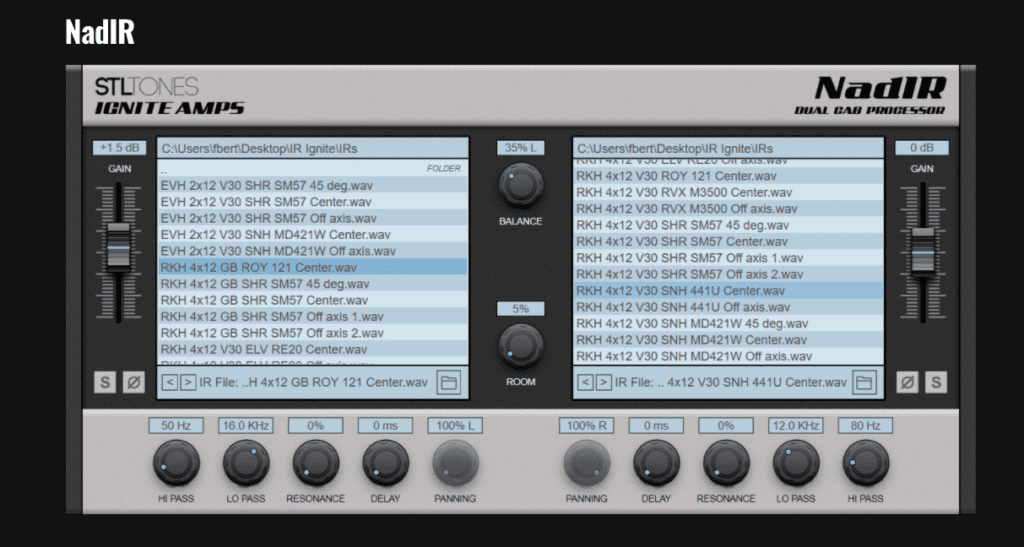
Just like a physical amp comprises a head and a speaker cab, so does an amp sim. The speaker cab in this case is something known as an impulse response. Sometimes an amp can load an IR directly but sometimes a separate piece of software is required, this is an IR loader. Just think about this as a speaker cabinet and the IRs as individual speakers. Much like everything in software, you can get IRs free if you know where to look or you can pay varying amounts. I got a loads when I bought Sigma but there are free ones to download from Line6 and Celestion if you search. The IR loader I use is another Ignite product called NadIR, it is easy, it works great and the price is right.
6. Drum sampler
While I can play and record guitar, my achilles heel is anything percussion related, I’m terrible at it. Thankfully there are a lot of good drum samplers out there. A drum sampler is an instrument based on a load of recordings of a drum kit. By playing or drawing notes in midi the samples are played and you can make drum beats. This would be good if I had any talent for that but I don’t. There is an answer though, you can get midi files of drum beats, and with these and a drum sampler you have all you need to put a beat to your songs.
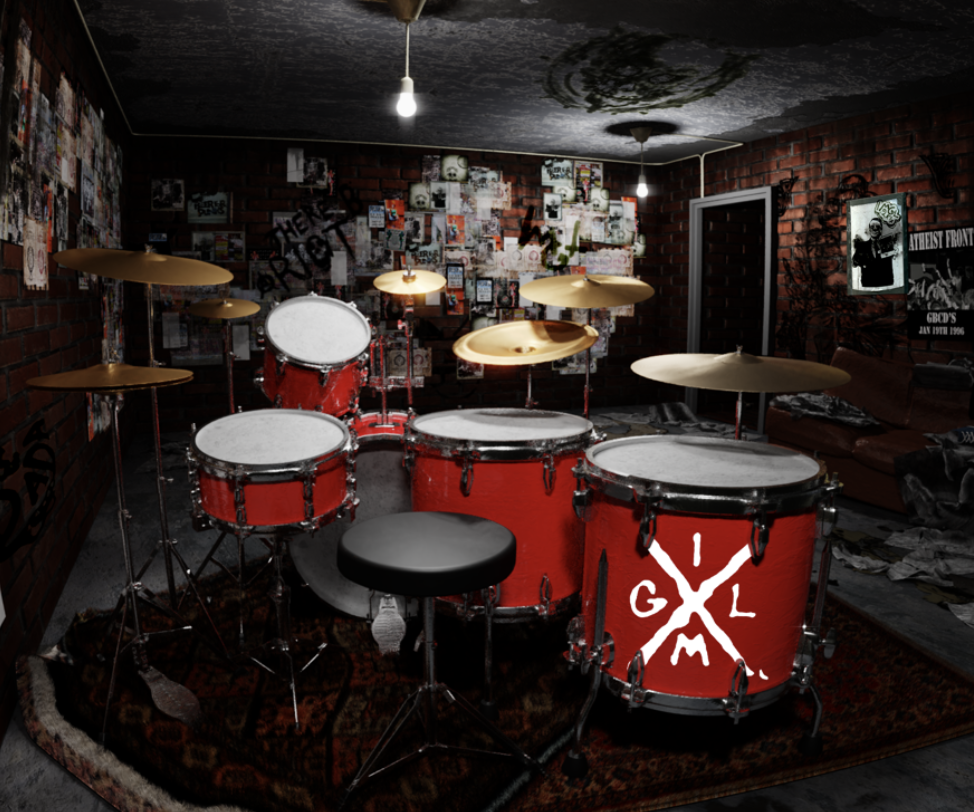
As usual you can pay a lot or not so much for drum samples. I get mine from a place called Ugritone. You can find their excellent Riot Drums for $5 when you sign up to their mailing list and their midi packs go for $15, however they periodically reduce packs to $5. I tend not to worry about the genre descriptions, though you can use death metal beats for death metal, you don’t have to do and I often do mix the genres up.
7. Microphone
Finally you’re going to need to put in vocals. You can probably do this via a smart phone voice memo if you wanted to go super low fi but it’s not a great solution. Right now I am using an old Shure SM58 stage mic I had from years ago when I was in a band. Ideally I am looking for something a bit more suited to recording so I am looking for a specialist mic (linked to the one I am looking at below). I want something that will do vocals and also, possibly acoustic guitar. For ease of use it’s also worthwhile looking for a cheap mic stand on eBay or similar. Make no mistake though, good vocal mics can run into the thousands so this is the biggest compromise we’re making here.
This is the microphone I am looking at.
That looks like a lot but, in reality, you can sort out a full set up for £150 and you would be hard pushed to get either a guitar or amp for that. With the equipment in order the next stage is to look at the workflow which I’ll cover next week.
